
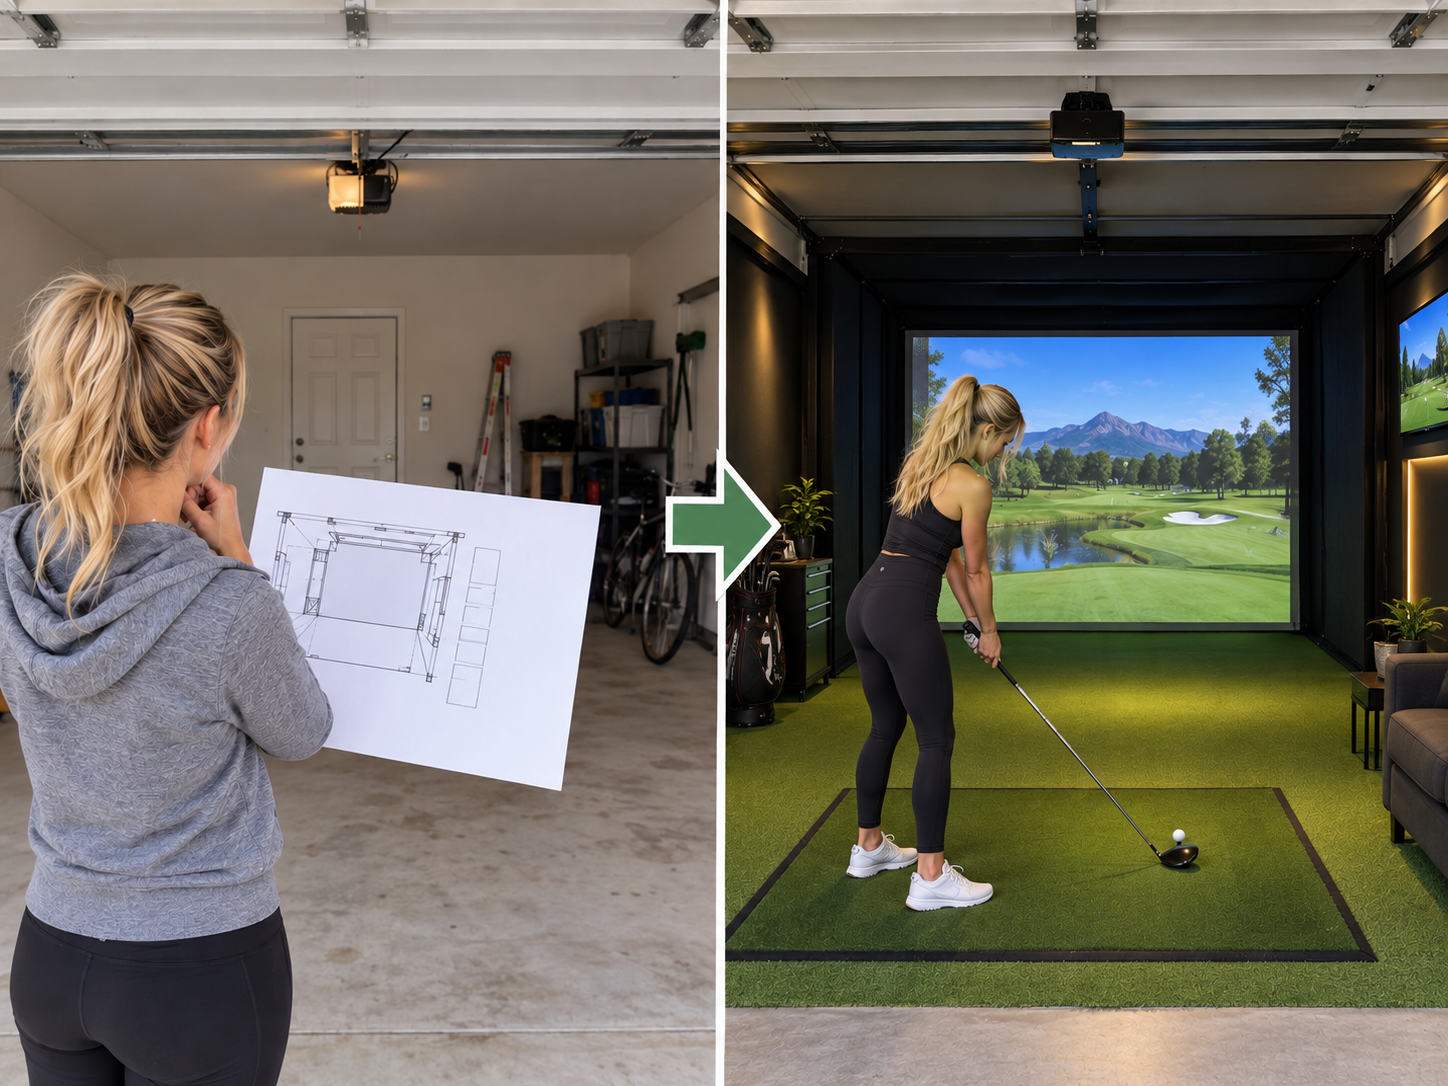
Building an indoor golf simulator has gotten a lot more affordable.
You can put together a basic garage setup for a few thousand dollars, while a really nice dedicated simulator room might cost $10,000 to $20,000. Go with an overhead launch monitor, custom enclosure, 4K projector, finished flooring, and acoustic treatment, and you can easily spend $25,000 or more.
The bigger question isn’t how much you can spend.
It’s where you should spend it.
I’ve seen people focus almost entirely on the launch monitor and treat everything else as an afterthought. That’s usually backwards. A great launch monitor doesn’t fix a ceiling that’s too low, a projector that doesn’t fit the room, or a hitting mat you hate standing on.
So before shopping for equipment, start with the room.
Measure the Room Before You Buy Anything
Ceiling height gets most of the attention, and for good reason.
Around 9 to 10 feet is a useful target for most home simulators. But I wouldn’t buy equipment based on ceiling height alone.
Take your driver into the actual room and make some slow practice swings.
Do this from approximately where you’ll be hitting. If other golfers will use the simulator, especially someone taller than you, have them try it too.
A room can technically have a 9-foot ceiling and still be uncomfortable because of a garage door opener, beam, light fixture, duct, or other obstruction.
You also need enough width.
A narrow room can work if you’re a right-handed golfer and you’re comfortable hitting off-center. If you want right- and left-handed golfers hitting from the same general position, you’ll want considerably more width. Somewhere around 14 to 15 feet gives you much more flexibility.
Then there’s room depth.
This is where your launch monitor choice starts to matter.
Camera-based units such as the Foresight GC3 and Bushnell Launch Pro sit beside the ball. They don’t need a long stretch of room behind the golfer to measure the shot.
Radar systems such as the Garmin Approach R10 and FlightScope Mevo+ are different. They sit behind the ball and need enough distance to observe the shot before it reaches the screen.
That can make a camera-based launch monitor a much better choice in a shallow room, even if you originally preferred radar.
Don’t choose the launch monitor and then try to make the room accommodate it. Choose technology that works in the room you actually have.
Give the Impact Screen Room to Move
Your impact screen can’t be installed directly against the wall.
It needs space behind it so the material can absorb the golf ball without slamming into whatever is behind the screen.
Around 12 inches of clearance is a reasonable starting point, although the exact amount depends on the screen, how tightly it’s installed, and how the enclosure is constructed.
I’d rather leave a little too much space than discover after installation that a driver is pushing the screen into the drywall.
You also need to think about the shots that don’t hit the screen.
Everyone eventually hits one high, low, or sideways. Protect the ceiling and sides around the hitting area. If you’re using a net rather than a full enclosure, make sure there’s enough side protection to catch a shank.
This matters even more in a garage where the simulator may be sharing space with cars, windows, tools, and storage.
Don’t Spend the Entire Budget on the Launch Monitor
The launch monitor is obviously important. It’s what measures the shot and feeds information into your simulator software.
But it’s only one part of the system.
You still need some combination of a hitting mat, screen or net, enclosure, computer or mobile device, display or projector, simulator software, cables, mounts, lighting, and flooring.
That’s why a “$3,000 simulator” can turn into a $6,000 project surprisingly quickly.
I’d build the complete budget before ordering the first major component.
The Hitting Mat Matters More Than Most People Expect
This is one place where I don’t like cutting the budget too aggressively.
You’re going to hit thousands of golf balls from the same small area.
A cheap mat may look perfectly good in photos, but that doesn’t tell you how it feels when you hit an iron slightly fat. Thin turf over a hard base can be unpleasant during longer practice sessions.
You also don’t necessarily need an enormous premium mat covering the entire hitting area.
One good option is to build a larger stance platform and put your money into a quality replaceable hitting strip. That gives you a better hitting surface without paying premium hitting-mat prices for turf you’re simply standing on.
Think about replacement costs too. The hitting area will wear much faster than the rest of the floor.
The Projector Has to Fit the Room
Projector shopping gets confusing because resolution and brightness get most of the attention.
Throw ratio is just as important.
The projector needs to create an image that fills your screen from the mounting position available in your room.
If that calculation doesn’t work, it doesn’t really matter how good the projector looks on paper.
Short-throw projectors are popular in golf simulators because they can create a large image from relatively close to the screen. This also makes it easier to mount the projector where the golfer isn’t constantly casting a shadow.
Brightness matters too.
A projector that looks great in a dark basement may look washed out in a garage with windows and daylight coming around the garage door.
You don’t necessarily need the brightest projector you can buy. You need enough brightness for the lighting conditions in your room.
The screen aspect ratio also needs to match the room. A wide 16:9 image looks great when you have the width. In a narrower or taller space, another screen shape may make better use of the available wall.
This is something I would work out before ordering either the enclosure or projector.
Don’t Forget the Computer
Some simulator setups can run from a phone or tablet.
Others really benefit from a gaming PC.
If you’re planning to run graphically demanding simulator software at high resolutions, budget for the computer from the beginning.
The PC also has to fit into the physical simulator.
Where will it sit?
How are you getting HDMI or DisplayPort to the projector?
How does the launch monitor connect?
Where will the keyboard and mouse go?
Do you have Ethernet available, or are you relying on Wi-Fi in a detached garage?
None of those questions are exciting, but they’re the kind of details that determine whether the simulator feels finished or like you’re constantly messing with cables.
What Does a Budget Golf Simulator Look Like?
At roughly $1,000 to $3,000, I’d keep things simple.
A Garmin Approach R10 or older/refurbished SkyTrak paired with a quality golf net can give you a useful practice setup without building a permanent simulator room.
Use a tablet, television, or computer you already own instead of buying a projector immediately.
Put more of the remaining budget into the hitting surface than you might initially expect.
This kind of setup makes a lot of sense in a garage that still needs to function as a garage. You can put the net away, move the mat, and reclaim the space.
It’s not going to feel like a commercial simulator bay.
It doesn’t need to.
You’re getting launch data and the ability to hit balls at home without spending five figures.
The $5,000 to $8,000 Range Is Where Things Get Interesting
This is where you can start building something that feels like a real simulator rather than a launch monitor hitting station.
A Bushnell Launch Pro or SkyTrak+ can be paired with a proper enclosure, impact screen, better hitting surface, and 1080p projector.
If I were working within this budget, I’d be careful about trying to upgrade everything at once.
I’d rather have a good launch monitor, comfortable hitting surface, correctly sized enclosure, and properly positioned 1080p projector than stretch the budget trying to force 4K into the build.
The nice thing about a simulator at this level is that several components can be upgraded later.
You can replace the projector.
You can build a faster gaming PC.
You can add finished turf.
Getting the basic room geometry right is much harder to change.
What About a $12,000 to $20,000 Simulator?
Now you’re getting into serious dedicated-room territory.
This budget opens up higher-end launch monitors, including overhead systems, along with larger custom enclosures, better projectors, dedicated gaming PCs, and more finished flooring.
An overhead launch monitor can be especially nice in a permanent simulator.
There’s nothing sitting beside or behind the ball, and right- and left-handed golfers can potentially switch without moving a floor unit back and forth, depending on the launch monitor.
This is also the point where I would spend more time thinking about the room itself.
Acoustic treatment can reduce noise. Finished turf can eliminate awkward transitions around the hitting mat. Better lighting can keep the hitting area bright without washing out the screen.
A $15,000 simulator shouldn’t just produce more accurate numbers than a $5,000 simulator.
It should be a nicer room to use.
$25,000 and Up
Once you move past roughly $25,000, you’re usually building something closer to a high-end residential or commercial simulator bay.
That can include an overhead system such as TrackMan iO or Foresight Falcon, a custom enclosure, integrated flooring, wall and ceiling protection, acoustic treatment, high-brightness projection, and a dedicated simulator PC.
There are absolutely reasons to spend this much.
A commercial facility needs equipment that can handle constant use. A high-end home installation may need to look like part of the house rather than equipment installed in a spare room.
But most home golfers don’t need to spend $25,000 to get a very good simulator.
Past a certain point, you’re spending as much on the room, finish work, convenience, and appearance as you are on the actual golf technology.
Choosing Simulator Software
Hardware determines what your simulator can measure. Software has a huge effect on what it’s actually like to play.
GSPro is popular with home simulator owners who want realistic golf and a large selection of courses, but you’ll want a capable PC if you’re trying to run it at higher graphical settings and resolutions.
E6 Connect is another established option and works with a range of simulator hardware.
Foresight users also have the FSX ecosystem, while Uneekor has its own software options.
I wouldn’t choose software in isolation.
Start with the launch monitor you’re considering and check what software it officially supports, what additional subscriptions or licenses are required, and what computer hardware you’ll need.
Software costs can also continue after the simulator is built, so include subscriptions in your long-term budget rather than treating them as an afterthought.
Mistakes I’d Try to Avoid
The biggest mistake is buying equipment before figuring out the room.
Projectors are a good example. It’s easy to find a projector with great specifications, order it, and only later discover that its throw ratio won’t produce the image size you need from the available mounting position.
Radar launch monitors create the same problem. They’re excellent products in the right space, but buying one for a room without enough depth can create an unnecessary headache.
I’d also avoid spending $10,000 or more on a simulator and putting a bargain mat in the middle of it.
And don’t forget lighting.
A bright room is nice when you’re setting up and hitting balls, but uncontrolled light falling directly onto the impact screen hurts image quality. Ideally, you want to light the golfer without dumping unnecessary light onto the screen.
Ventilation matters in garages too. A simulator that’s miserable to use in July isn’t much of a simulator for half the year.
Where I Would Start
If you’re planning your first indoor golf simulator, don’t start by picking a launch monitor.
Grab a tape measure.
Measure the width, height, and depth of the room. Take some swings. Locate the outlets. Look at where the projector could mount. Check for garage door tracks, lights, beams, HVAC ducts, windows, and anything else that could interfere.
Then decide whether the room is better suited to radar, a floor-mounted camera system, or an overhead launch monitor.
Once you’ve figured that out, you can build the rest of the simulator around it.
A $2,000 garage setup can be great if it’s designed around the space and what you actually want to do with it.
A $20,000 simulator can be frustrating if the screen doesn’t fit, the projector is mounted in the wrong place, and you’re afraid to swing your driver into the ceiling.
Get the room right first.
The expensive equipment is the easy part.
Disclaimer: We do our best to keep the information in this article accurate and up to date, but indoor golf equipment, pricing, software, subscriptions, specifications, and manufacturer requirements can change. There may also be mistakes or outdated information in this article. Always confirm current specifications, pricing, compatibility, and installation requirements with the manufacturer before purchasing equipment or building your simulator.
What did you think?
Tap a reaction — no need to write anything.
Thanks for letting us know!
Interested in this?
Leave your details and tell us which applies.

Comments are closed.